Ghostly Foxes and a Memento Lens: Unraveling Inazuma’s Sacrificial Offering
Sacrificial Offering world quest in Inazuma blends haunting puzzles and lore, guiding players through Mysterious Shadows and ancient shrines.
Even in 2026, the Sacrificial Offering world quest remains one of Inazuma’s most elegantly haunting puzzles — a quiet, almost spectral dance with the past. I first stumbled into it on a rain-soaked afternoon, the kind where Tatarasuna’s forges glow a little dimmer and the air smells of wet sakura. The quest isn’t just a checklist of objectives; it’s a story whispered by forgotten shrines and fox statues that seem to watch you with knowing eyes. If you’ve just arrived in Inazuma or are dusting off old saves, let me walk you through how I finally coaxed the Mysterious Shadows into revealing their secrets.
The Shrine That Breathes Silence
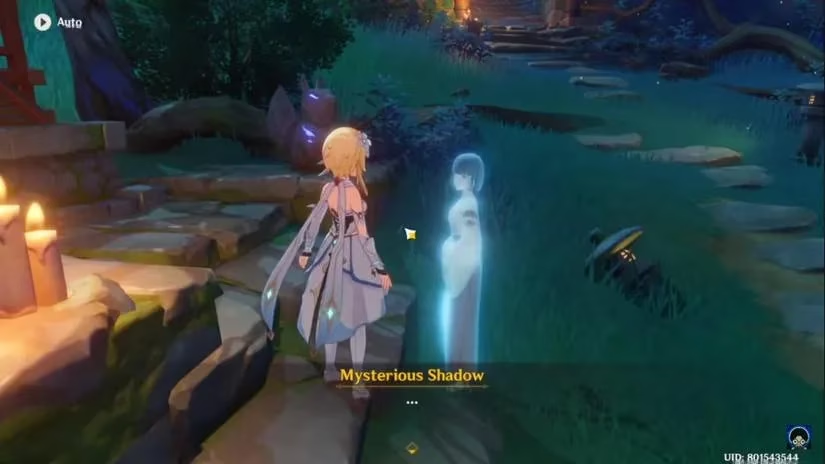
After picking up the quest near Konda Village, I made my way to the abandoned shrine — a place that felt like a memory someone tried to bury but couldn’t quite let go of. The path winds upward, flanked by crumbling torii gates that frame the sky in fading vermillion. Two of the three Mysterious Shadows materialized almost immediately as I walked toward the main building, their translucent forms hovering like echoes of prayers still clinging to the air. They didn’t speak, of course; they simply existed, waiting. The real trick was finding the third shadow. I circled the area twice before glancing up — there it was, half-hidden in the rooftop foliage, as if it had been napping among the branches like a drowsy spirit-cat. Interacting with all three sent them flickering away, not unlike startled fireflies dispersing from a disturbed bush.
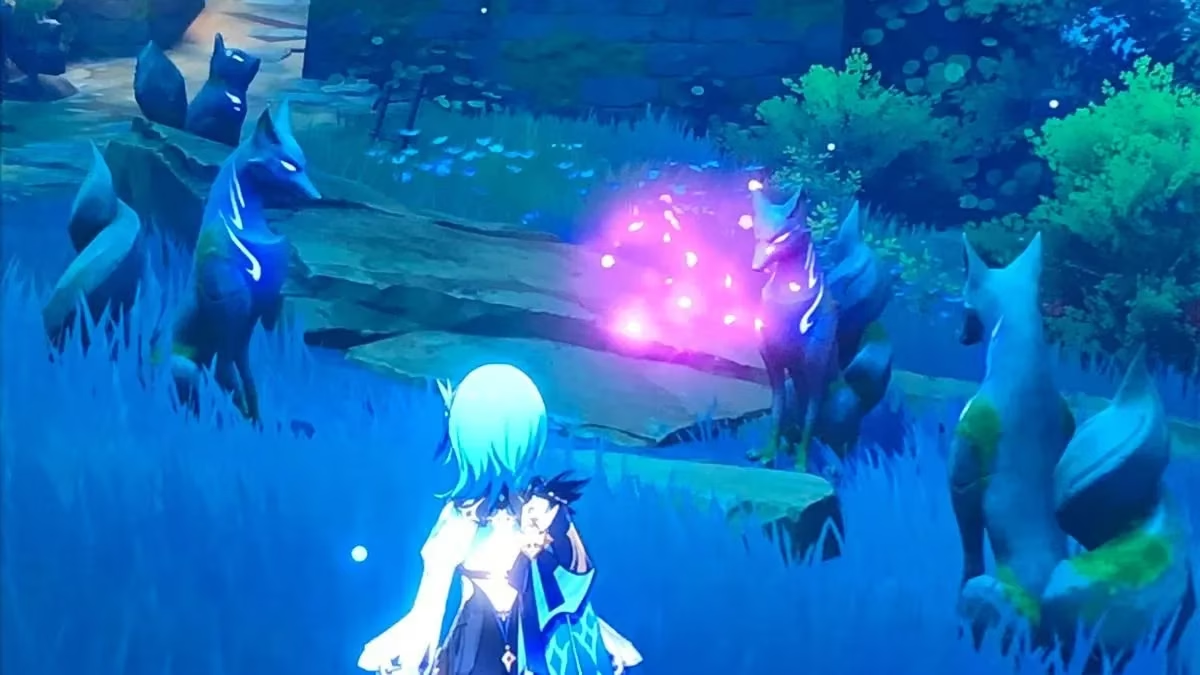
This is where the quest shifts from simple observation to something closer to a gentle hide-and-seek. Each shadow teleported to a new spot somewhere within the marked area, and every single one materialized beside an electro-charged fox cub. The cubs were small, static sculptures glowing with that unmistakable purple-lavender current, as if they had been struck by a miniature thunderstorm and frozen mid-shiver. My job was to track down each shadow, interact with it, and then follow its next jump until all three converged at the same point — a central clearing dominated by a trio of larger fox statues, which I began to think of as the adult foxes holding council. That final gathering felt like luring shy forest creatures into the open with nothing but patience and the promise of company. Once the three shadows stood united before the stone foxes, three Exquisite Chests bloomed from the ground like metallic flowers, and my objective updated toward Mt. Yougou.
The Memento Lens: Seeing Through Time’s Curtain
With the first part complete, the quest nudged me toward the Grand Narukami Shrine, perched atop the Sacred Sakura like a jewel on a crown. There, a shrine maiden near the great tree handed me the Memento Lens — a device that feels less like an artifact and more like a key carved from memory itself. I still remember how the lens cup held it up against the light, its surface cool and faintly humming. It seemed to whisper that it didn’t just reveal things; it peeled back the years.
Returning to the abandoned shrine, I equipped the lens from my gadget menu and faced those tiny electro-charged fox cubs once more. The instructions were simple: center the cub in the lens and activate it. I tried it on several statues at first, watching the air ripple as if I’d tossed a pebble into a still pond. But the real magic happened when I focused on three specific cubs — the ones that had been companions to the shadows. Through the lens, they transformed. The world dimmed, and a spectral old man’s voice began to speak, reciting fragments of a poem or a prayer. Each statue offered a different line, and I scribbled them down like a detective collecting whispered testimony. The effect was uncanny, like listening to a radio frequency that only existed during a particular moon phase, or hearing the thoughts of the stone itself.
Breaking the Seal and Reaping the Ward
Armed with the old man’s three lines, I returned to the central fox shrine — the grand one where the earthly kitsune and the divine seemed to overlap. There, in front of the towering stone foxes, I recited the phrases in the order I’d received them. The words left my lips awkwardly, like a traveler mangling a local dialect, but the shrine accepted them. A ward coalesced in front of me: a talismanic strip of paper that hummed with the same electro-charged energy as the cubs. It was almost ironic how this tiny slip of paper held so much power, a cosmic sticky note to seal a supernatural rift.
The final step was almost anticlimactic in its simplicity. I walked to the side entrance of the shrine grounds, where a small barrier waited, and slotted the ward into place. The air hissed, the barrier dissolved, and the quest completion notification popped up with a satisfying chime. But the real reward was a strange sense of having helped anchor something unmoored — as though the spirits of the shrine could finally rest, their unfinished business gently folded away like an old letter.
Looking back, the Sacrificial Offering quest remains one of my favorite Inazuma memories. It doesn’t demand split-second combat skills or endless grinding; it asks for stillness, observation, and a willingness to chase after shadows that only linger near glowing fox cubs. In a game world that often races forward with explosive battles and urgent narration, this quest is a held breath — a quiet reminder that sometimes the most powerful tools aren’t swords or visions, but a simple lens that lets you see what has always been there, just waiting to be remembered.
Comments